Choose the best equipment for your workshop: from Dawn to Blue Hour to Night

MORNING LIGHT
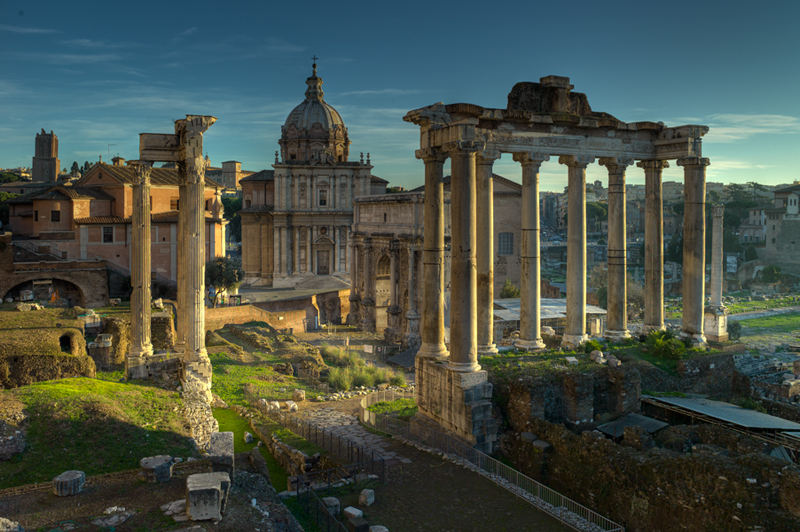
Our Morning Light workshop is perfect for anyone wishing to experience Rome’s quiet hours, a rare occasion for the frequently bustling and crowded Eternal City. Capture glistening sunlit moments only the early morning can provide, as gold-tinged architecture and urban landscapes meld to your creative desires. This workshop is perfect for those who like a little peace while they work.
Curious about how to prepare? We’ll lend you tips and tricks straight from a fellow photographer, and tell you which equipment is best for the Morning Light workshop.
First things first: if you have a vision, keep it in mind. If not, that’s what we’re here for. We’ll show you hidden places to shoot and the best way to go about improving your photographic skills during the tour. Make sure to communicate any desired shots with your photographer so we can be sure to help you accomplish your vision. Think about any shots you expect to be the most difficult or time-consuming. Maybe you want to photograph the sunlight glinting out behind an early morning performer along the Tiber river. Perhaps you’d like to capture the glistening surface of the Trevi fountain in the predawn hours, well before the crowds of tourists arrive to toss coins in its waters. Before you go, think about which type of lens is best-suited for your shots. Will you need a tripod? Maybe a flash is needed to fill in shadows? If you don’t have any of this equipment, we offer rental equipment. If requested, we will provide tripods at no additional cost.
In general, the best set-up for an early morning shoot is your camera body and at least two interchangeable lenses. You shouldn’t need more than a simple 18-24mm wide-angle, 24-70mm zoom lens, or a telephoto lens between 60mm-200mm, but depending on what you’re willing to carry around, a macro lens can create more compelling photographs, different from the typical landscape shots. The perfect time to use that macro lens and focus in on the intricate designs of the ancient city is when the sunshine falls gently on the architecture, highlighting its details. Make sure to use a macro lens with at least a 1:2 or 1:1 ratio. For true macro photography, a 1:1 prime lens is prefered. A zoom “macro” lens can give you a similar effect at 1:3 magnification, depending on your preference. A standard length macro lens ranging from 60mm – 105mm should do the trick. As for a flash? It’s not likely that you’ll need one for such soft morning light.
A tripod is optional, but not necessary. Again, it depends on what you’re willing to carry. Keep in mind that tripods are provided at no additional cost for our workshops. Think about the shots you want to take. Do you want to add motion blur? Perhaps you wish to shoot with a drag-shutter effect? If so, a tripod might be a good option to have depending on your camera’s capabilities or your desired effect. A good rule of thumb for human subjects in morning light is:
shutter speed below f/250 –> stabilizing tripod
shutter speed higher than f/250 –> tripod unnecessary
However, if you’re shooting City Night, a tripod would be highly recommended, especially to capture motion blur and create those streaks of light against the inky nighttime background.
Recomended
- 16 to 25mm wide lens
- 24-70mm basic zoom
Optional
- 70mm to 200mm telephoto
- tripod (provided upon request)

EVENING LIGHT
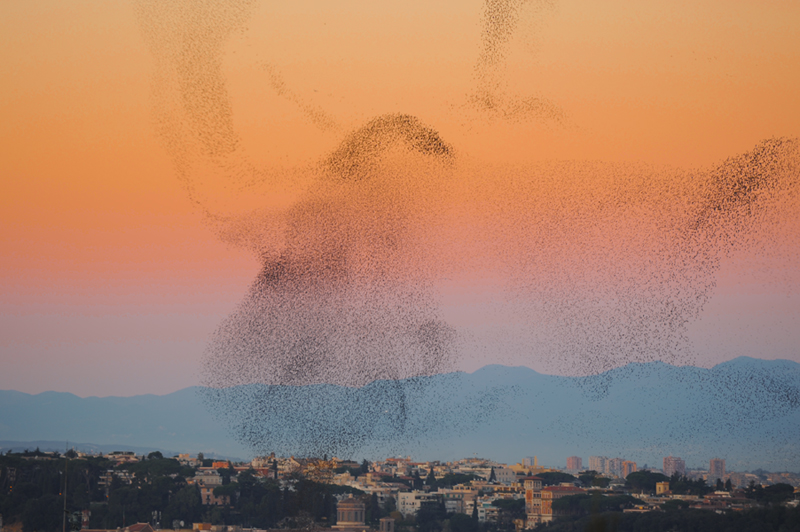
This workshop allows photographers to work with the warm tones of a sunset-graced city. Adjust your cameras to paint silhouettes against the vibrant sky, and let your wandering mind capture the beauty of Rome as it falls into dusk.
We recommend at least two interchangeable lenses for this workshop, again, a simple 18-24mm wide angle lense and perhaps a 24-70mm zoom or 60mm+ telephoto lens. A tripod is optional, but not necessary. As the afternoon fades into dusk, there is still just enough light to take a sharp image without a tripod, but for the best quality photographs, perhaps a tripod is prefered.
Depending on which subjects you’d like to shoot, an off-axis flash might be an interesting addition to your Evening Light shoot! For a dramatic portrait, try adjusting your camera settings to the ambiant light in the background sunset. Bump your ISO down to 100 and set your flash to High Shutter Speed Sync to light up your subject. For the most flattering effect on your subject, warm up their face with a color-correcting gel. The effect can be stunning, and it works for more than just human subjects. Try aiming your diffused/geled flash over a statue or object you wish to highlight. For the best effect, bring a shoe cord or remote control flash release attachment to get different or more flattering angles than an on-axis flash would provide. If you have any questions or additional desires, we’ll be sure to help walk you through all the steps during your one-on-one tour with our professional, local photographers.
Recomended
- 18 to 24mm wide
- 24-70mm basic zoom
- 60 to 200mm telephoto
- flash (with high speed sync)
- off-axis attachments: shoe cord or remote control
- tripod (provided upon request)
- Remote control shutter release

CITY NIGHT
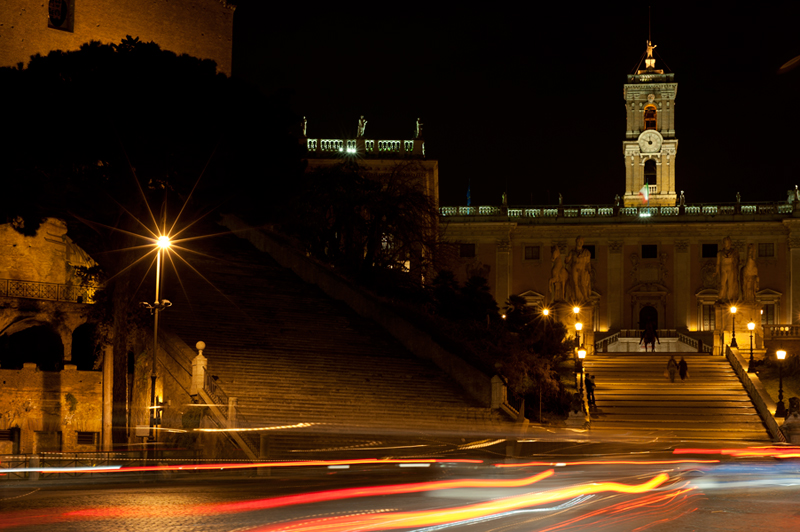
This workshop leads you down the lively streets of Rome during its dark after-hours. City Night is for photographers who want to experience the silky nightlife of the Eternal City, the soft orange lamp posts — characteristic of Italy — highlighting dark cobblestone streets. Play with the shadows cast within shadows by artificial lights, or open up your shutter past f/4 and capture the bright streaks left across famed Roman roads by vespas, taxis, and mopeds.
To grab painterly shots like this, a tripod is highly recommended, along with a 18 – 24mm wide angle lens. A telephoto lens isn’t as necessary for city night, as it can be hard to work with in the dark. Don’t want to carry around one of our bulky, traditional tripods? Try a small, flexible and handheld tripod that can be easily attached to surrounding landmarks or posts, or try stabilizing your camera with three points of body contact. Pull your arms in close and brace your elbows on an available stable area, press your camera in close to your face, chest or body and breath out when pressing down on the shutter. Anyone can be a night photographer, whether you have a simple iPhone or all the fancy equipment — from beginners to advanced professionals, all are welcome. We’ll make sure to help you get the best possible shots with any equipment you have.
Just like Evening Light, make sure to use a flash with highspeed sync. Off-axis attachments like a long shoe cord are recomended, and remote control shutter releases are absolutely essential to capturing a steady motion blur or drag shutter effect.
Recomended
- 18 to 24mm wide
- 24-70mm basic zoom
- 60 to 200mm telephoto
- flash (with high speed sync)
- off-axis attachments: shoe cord or remote control
- tripod (provided upon request)
- remote control shutter release

Street Photography
Keep it simple for street photography! Just a wide angle and telephoto lens should work wonders. These can either be zoom or prime lenses, and while you might prefer prime lenses, we suggest the quick versitility of a zoom lens. The key is to be subtle, so as not to disturb your subjects, or distract them from their tasks. Candid photos often make the best photos for a street photographer, so bulky equipment that disrupts the flow of city life can often be more of a burden than a blessing. A diffused, flash should do the trick to fill in shadowy faces. If inside keep it on-axis and bounce the flash off a wall or a ceiling to highlight your subject’s face. If outside, attach your shoe cord or remote control attachment and angle manually or with the help of our photographers. In fact, with the consistantly shifting shadows cast by Rome’s towering architecture, a flash could do wonders for opening up a perfect shot. Let your raw talents shine through with this workshop, and feel out the gritty city for all it’s beautiful realities.
Recomended
- 18 to 24mm wide
- 24-70mm basic zoom
- 60 to 200mm telephoto
- flash (on-axis or off-axis, with attachments)

Food Photography
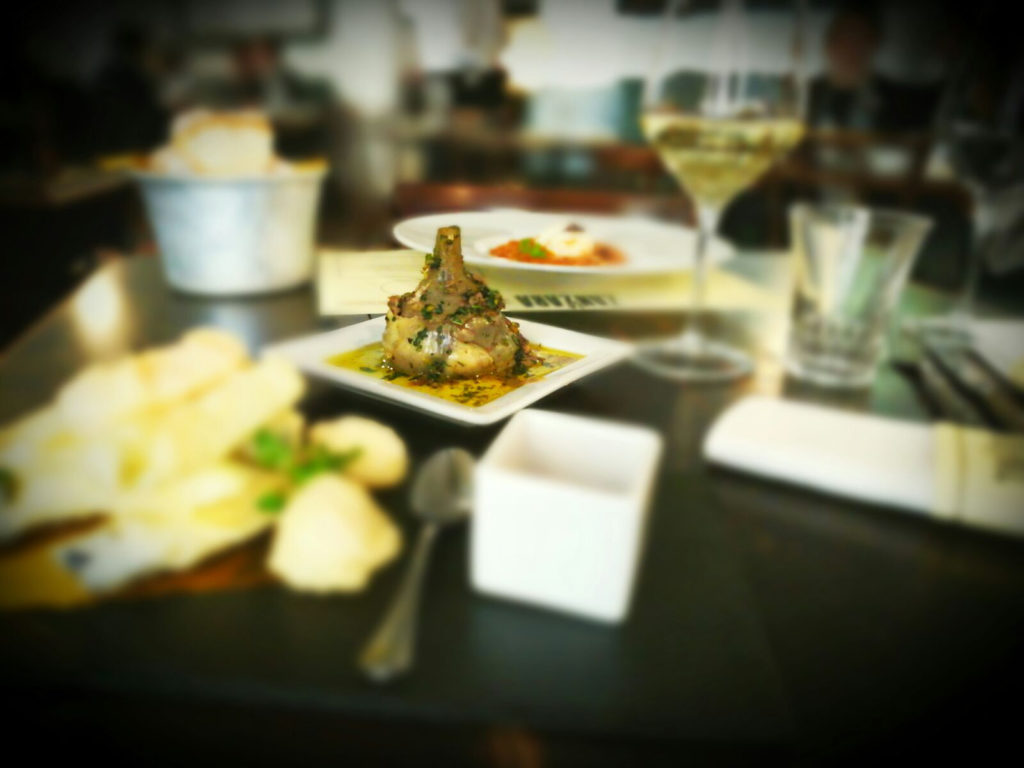
Any and all equipment needed for the shoot will be provided! Just bring your camera body and standard, wide angle lens and/or macro lens if you prefer. Don’t hesitate to check out our other workshops offered in New York and Palermo, Italy.